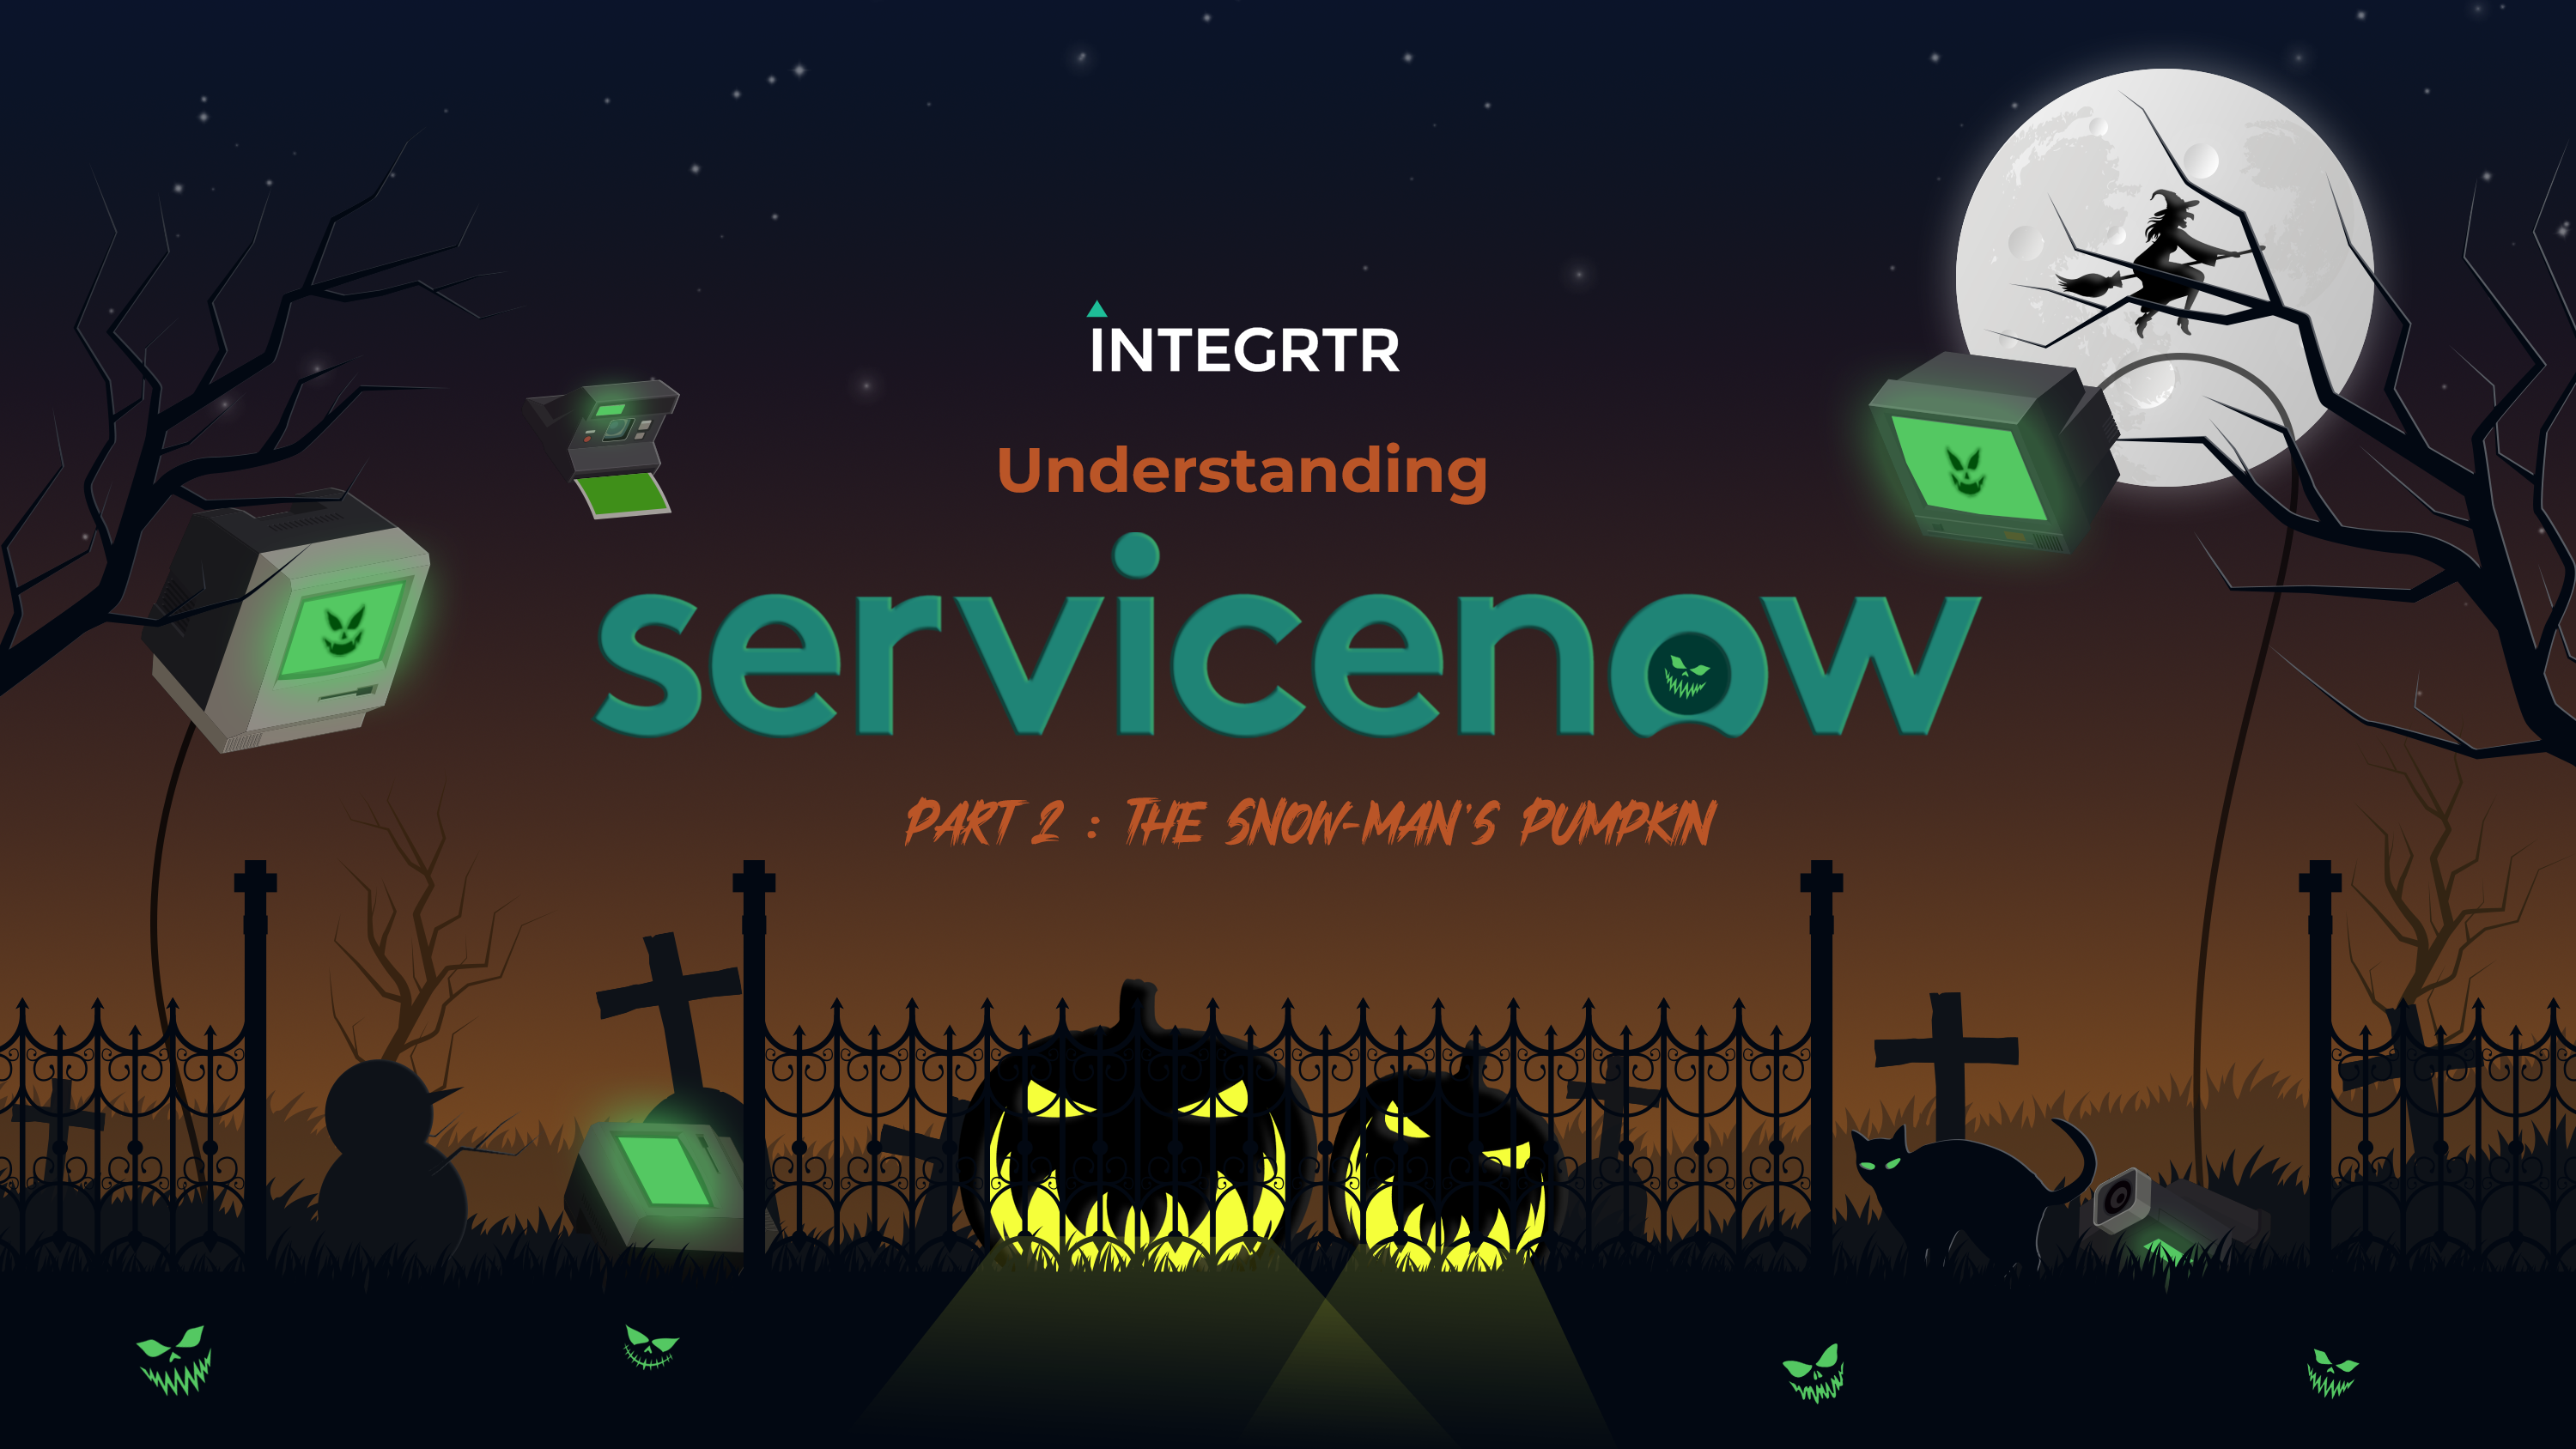


When the kids are outside Trick-o-treating and orange pumpkin faces are all lit,
The SNow man keeps on automating, all kinds of integrations that you see fit!
Welcome back to the second part of the Understanding ServiceNow blog series! In the previous blog we spoke about the numerous features that can help you achieve superior automation in your data management with ServiceNow.
In our first part (read here, if you have not yet), we talked about the features of ServiceNow and how ServiceNow can best suit all your business requirements. This blog will help you begin your ServiceNow journey. We will be going through some specific applications that are involved in upserting a record externally into an existing table in ServiceNow. By the end of this blog, you will be able to:
- Request for an instance and navigate across the Now Platform.
- Store Credentials on ServiceNow.
- Run HTTP methods using REST messages.
- Add finally, use TableAPI to perform a POST operation on a table in ServiceNow.
Before we jump into the basics let’s understand the architecture of ServiceNow.
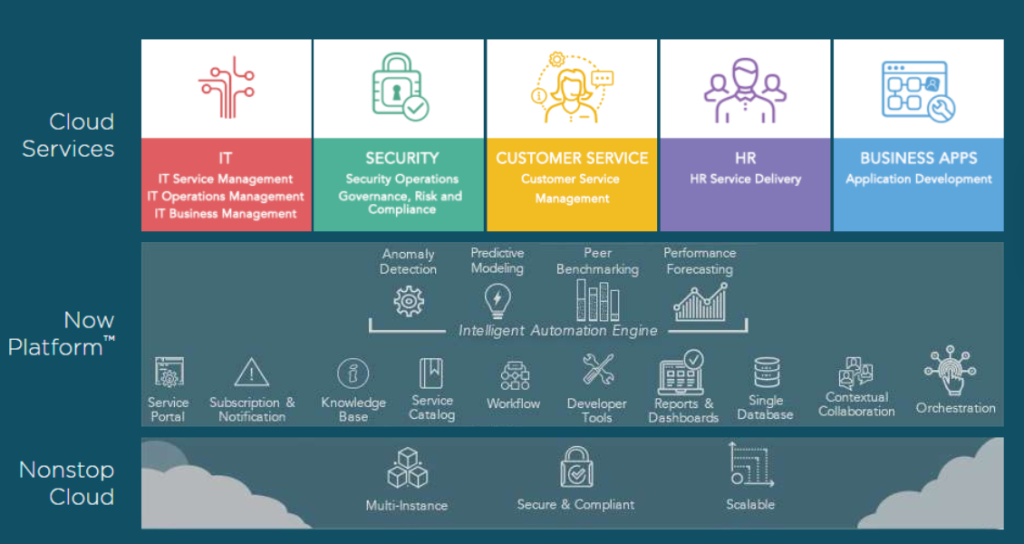
The ServiceNow Architecture
Although ServiceNow’s Now platform acts as a PaaS, ServiceNow also has SaaS offerings that are managed under the ServiceNow SaaS License Management. This acts as the multi-instance model that supports users and gives them a customized experience in terms of storage, organizing data, DevOps and so on. Whereas the Now Platform provides us with all the developer tools where we can create our packaged applications, maintain our workflows and build new integrations. Apart from the Now Platform the cloud services that are provided by ServiceNow are in the form of modules and these include HR Service Delivery, ITSM, CSM, SecOps, Business App Development and many more.
Basic Concepts in ServiceNow
PDIs
New users who want to explore ServiceNow can easily get access to Personal Developer Instances (PDIs) and explore the platform. To get started after creating an account, all you have to do is request for an instance. Once the waitlist for the instance is over, the instance access is given with a new set of credentials. Then, you can log in to the instance and navigate through the Now Platform.
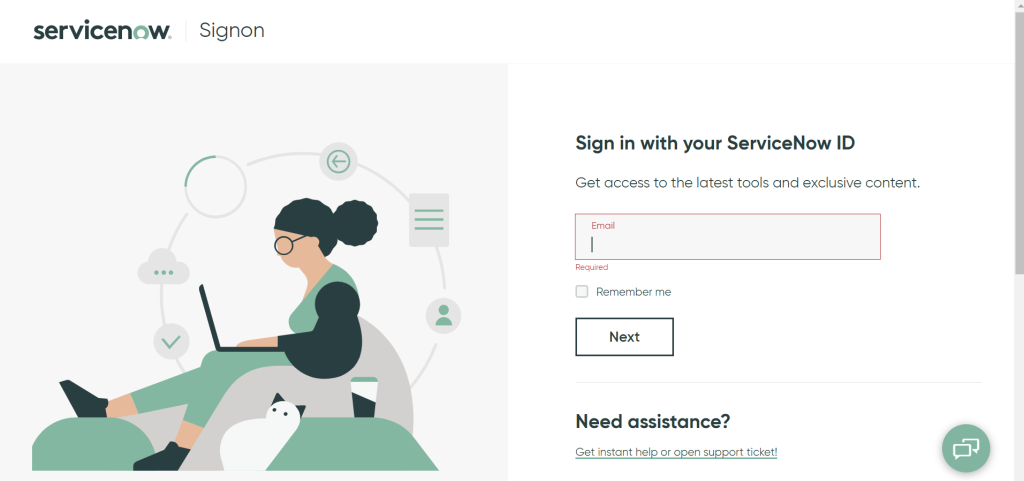
How to request for a PDI?
Log in to your ServiceNow account on https://signon.service-now.com
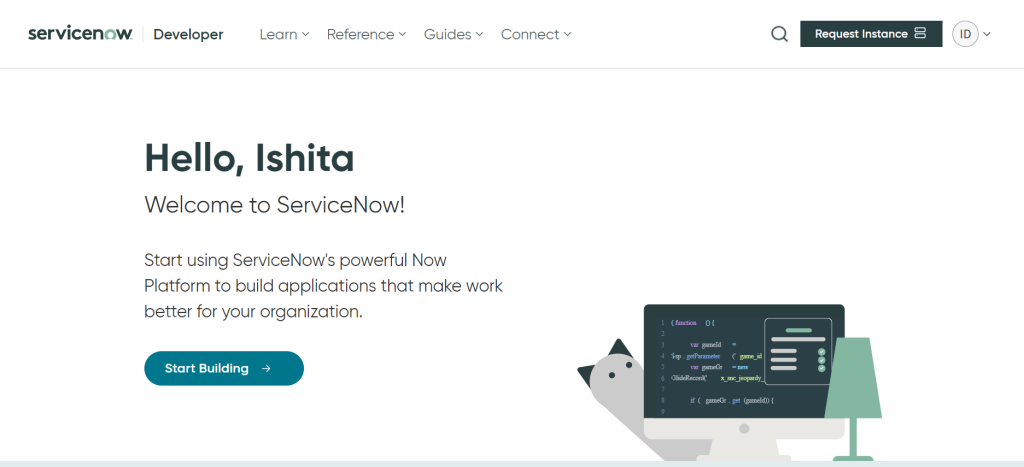
After logging in go to your Request an instance button on the upper right corner.
Next, select an instance version of your choice and click Request.
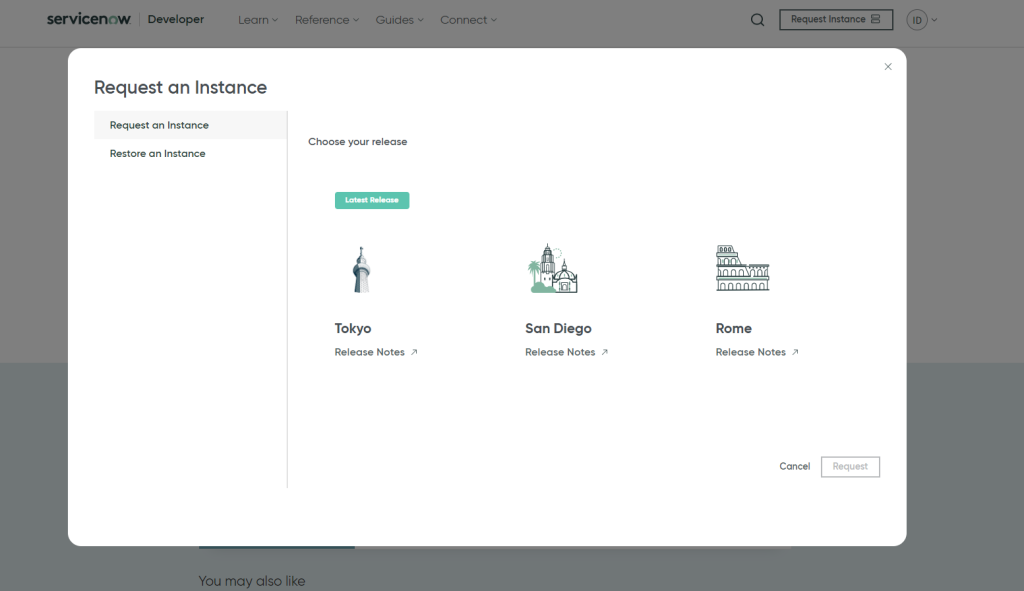
Once an instance is requested, you will be added to the instance waitlist. Once the instance is available from the pool, you will be notified and communicated the instance credentials with which you will be able to log in to your instance.
Lists and forms
In ServiceNow, data is managed through lists and forms. These lists are basically tables in which data is maintained throughout the platform and they can be sorted, searched and also edited while keeping the data dynamic to these changes. When we want to add a new record to a list, depending on the type of list, we often have to fill in a form. These forms have fields similar to the list column values.
Incidents on the Now Platform
ServiceNow exercises incident management by identifying and logging incidents. These incidents are used to keep track of changes that may be made to the data. We can keep a tab of who the incident was created by, assign a particular incident to a user and also view all open incidents.
The Now Platform
When building a Jack-o-lantern, there are a set of activities that you need to perform. Starting from the procurement of a pumpkin, to the shaping of the pumpkin. There’s a separate hassle for the setup of a power supply to light up a bulb. And should the preferred source of light be a candle, continuously relighting it requires a different type of manual effort. Similarly, when we want to build an application, there are a range of tasks and actions to follow. But in the software world, we have the chance to automate this streamline of tasks so that we don’t repeat redundant actions. That is exactly what the Now platform helps us achieve. It includes using PDIs with the help of which countless customized applications can be built.
Once you sign in to your instance, you will be able to view the Now Platform. The user interface has two components : the banner and the content frame. The banner is always present at the top of every screen and it has the logos, navigation menus, etc. The content frame is what acts the canvas area through out ServiceNow that displays different pages in ServiceNow – dashboards, tables, forms, everything else that can be viewed on ServiceNow.
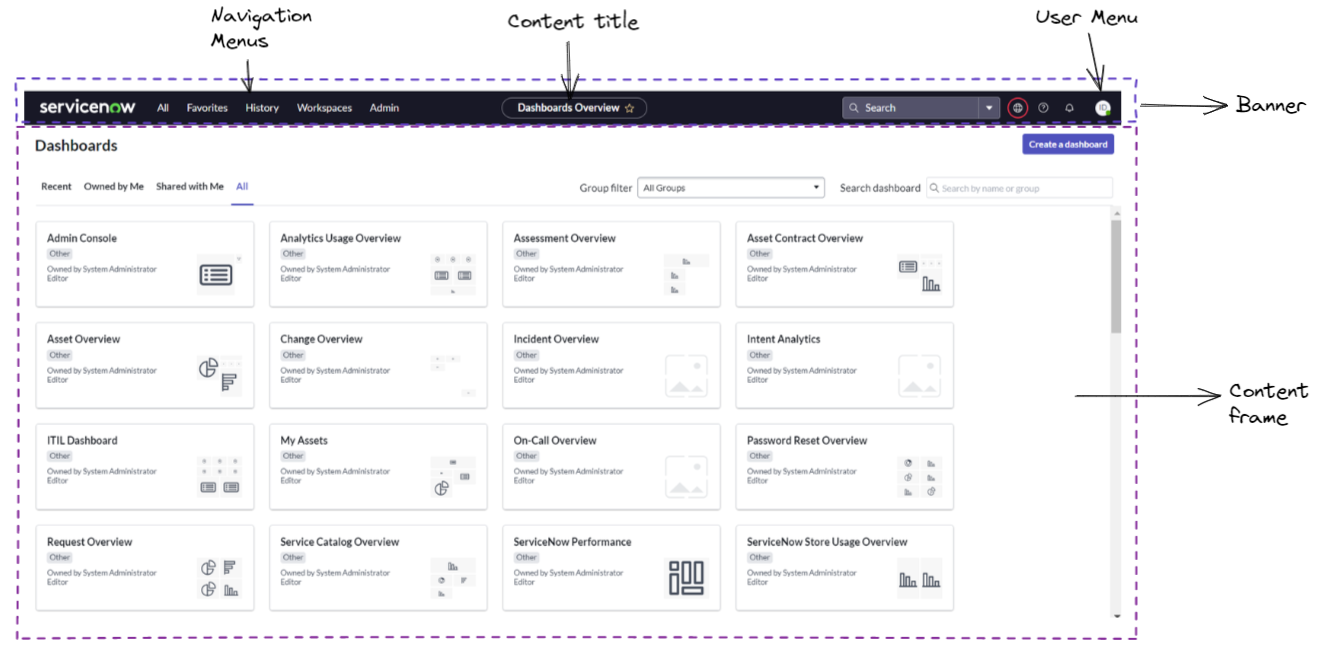
The different tools and applications in ServiceNow are segregated by System Applications which can be accessed using the Application Navigator. To look for specific System Applications, the All tab on the Banner can be used. The filter in this tab, narrows down the applications that you may be looking for under a particular module. This helps you quickly find applications and modules and also launch them in separate tabs for quick access.
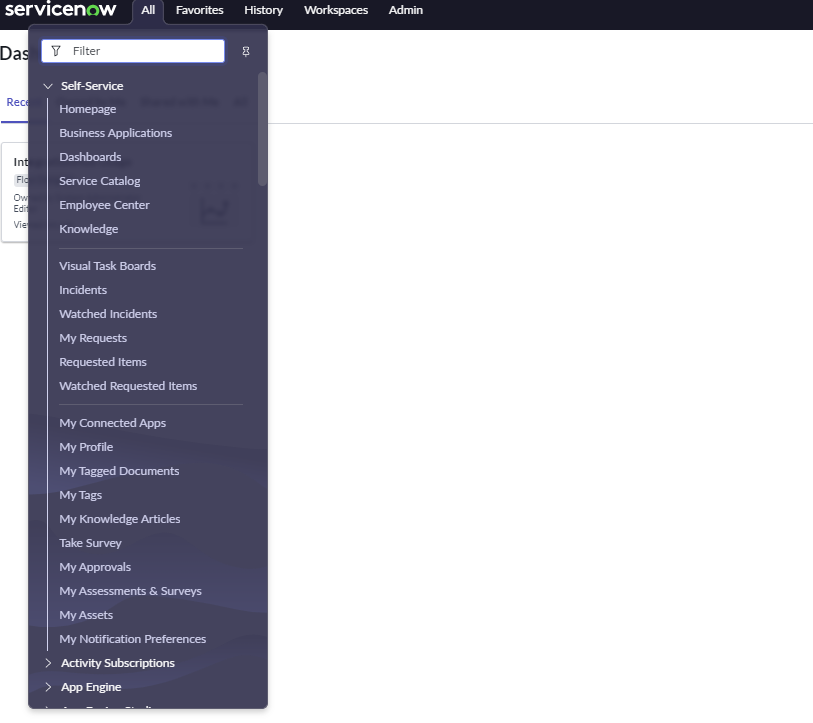
- The Favorites tab consists of all the pinned applications in ServiceNow.
- In the History tab, we can view all the recently accessed tools and applications.
- In Workspaces, we can created our own preferred workspace with data visualization cards, other data sources relevant to us with the help of the UI Builder.
- The Admin tab leads us to the Admin dashboard with an Admin’s view of application updates, and other admin objectives and notifications that convey the performance related statistics across the instance.
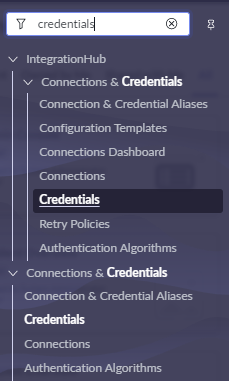
Credentials and Certificates
To access API endpoints or other websites that have some mandatory authentication you can store all your user credentials in Connections and Credentials. With this, the same credential can be reused and maintained securely.
There are multiple authentication options available to store your creds.
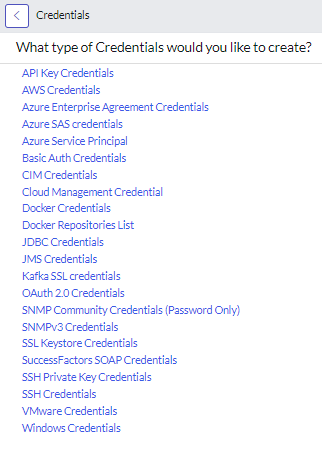
How can I add in a new credential here?
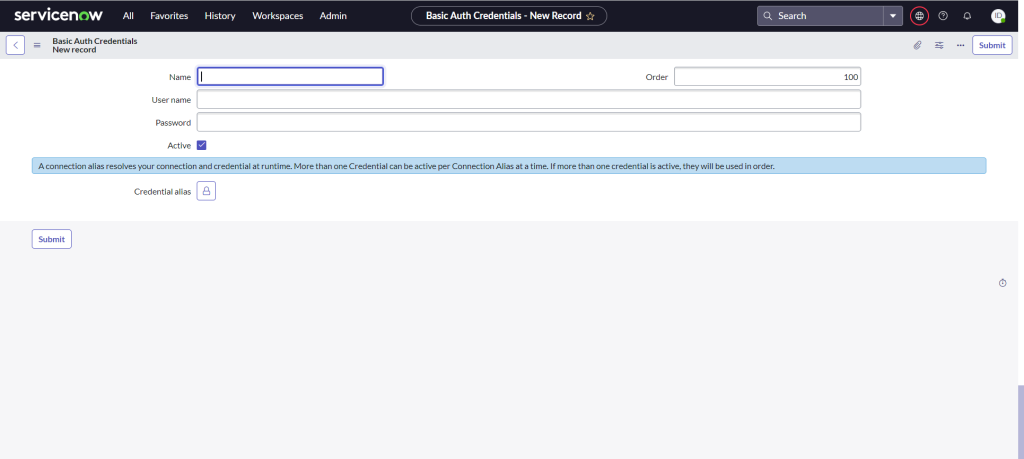
All you need to is select the type of credential that you’d like to add and submit the following form after populating all the fields. The form for a Basic Auth looks something like this:
REST APIs on ServiceNow
There are multiple REST options that are present on ServiceNow. These include both inbound as well as outbound REST calls. You can use scripted REST APIs, REST messages, REST integrations using the REST API Explorer, or you can also create a customized REST Step as an action in IntegrationHub.
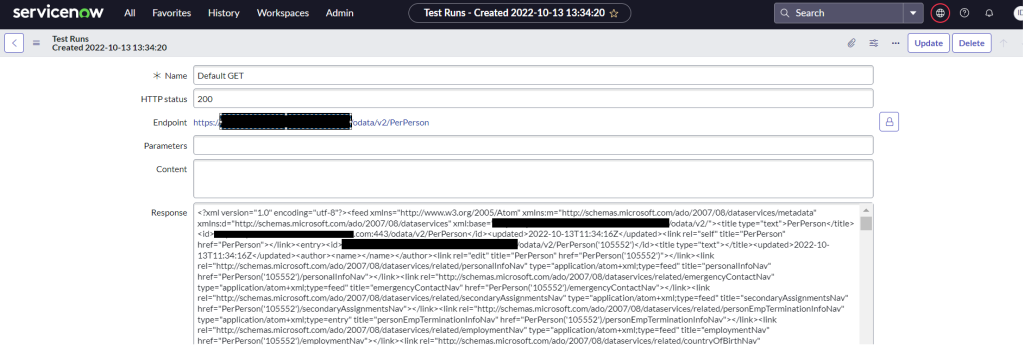
Let us start by creating an Outbound REST message using REST message.
First go to the All menu. Navigate to System Web Services > Outbound > REST Message.
You should get a screen as shown below for adding a new REST message.
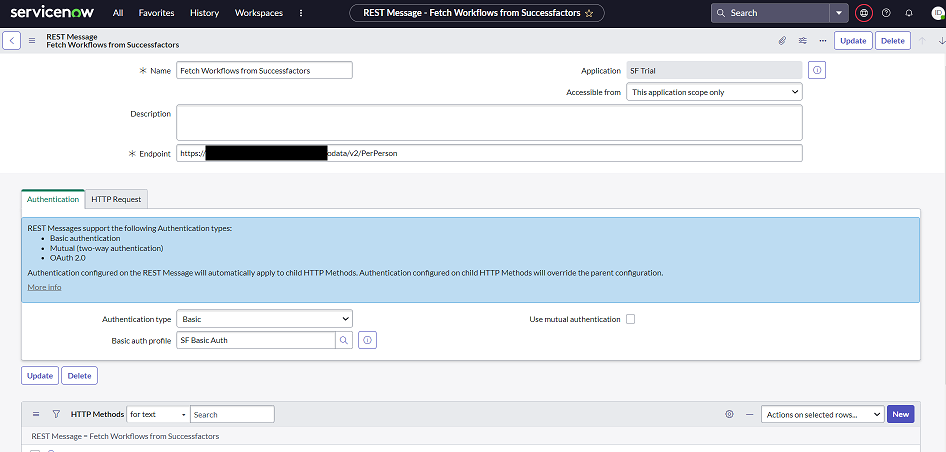
In this form, you can select an API credential that is stored in the Connections and Credentials application. Once you’re all set up with your REST message, you can try it out by adding a new HTTP method and running the TEST option on it.
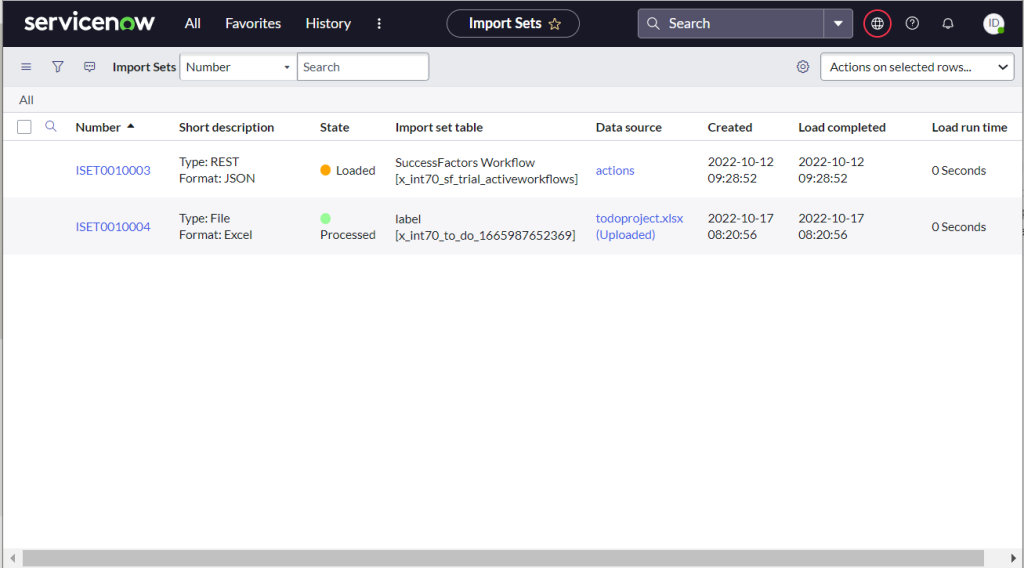
Tables, APIs and everything in between
In this spooky season, we will be decorating the ServiceNow platform with API cobwebs all by ourselves. And the secret hack that we will be using is ServiceNow’s TableAPI. A simple exercise that we will perform is just upserting a table in ServiceNow with some data.
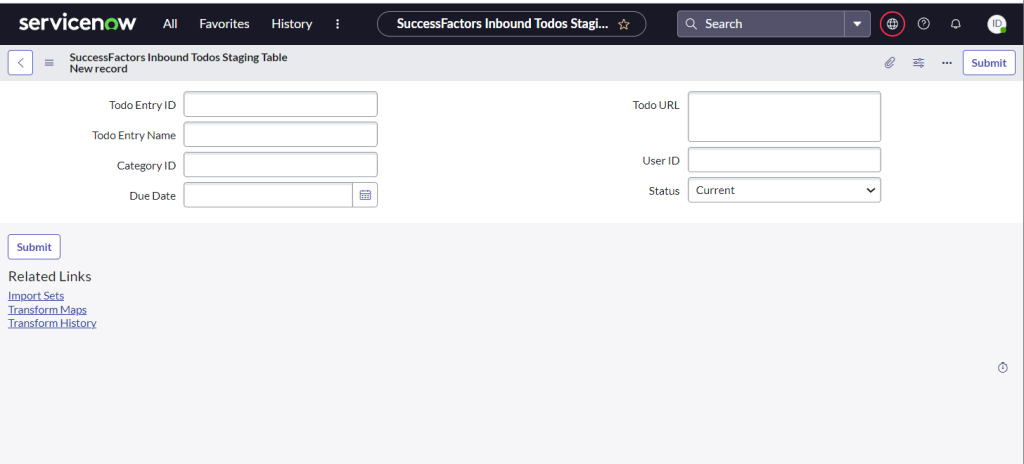
First we will be creating a table – there are numerous ways to go about this. We will be creating a demo application in the Application Engine Studio (AES) and under the Data section we will be Creating a table from scratch. The fields that we will add in for the table are as follows:
- first_name
- last_name
- externalid
- month
- occasion
The Table API offered by ServiceNow has specific guidelines which you can find further details to in their documentation. For performing our operation, i.e., upserting a record on the table, we will need to perform a simple POST request as shown below:
Method: POST
URL : https://{your instance name}/api/now/table/{table name}
Body:
{
    "first_name": "Jack",
    "last_name": "Skellington",
    "externalid": "30102022",
    "occasion": "Halloween",
    "costume": "pirate"
}
(The input data that is directly accepted by ServiceNow is in JSON format.)
You should expect the following response:
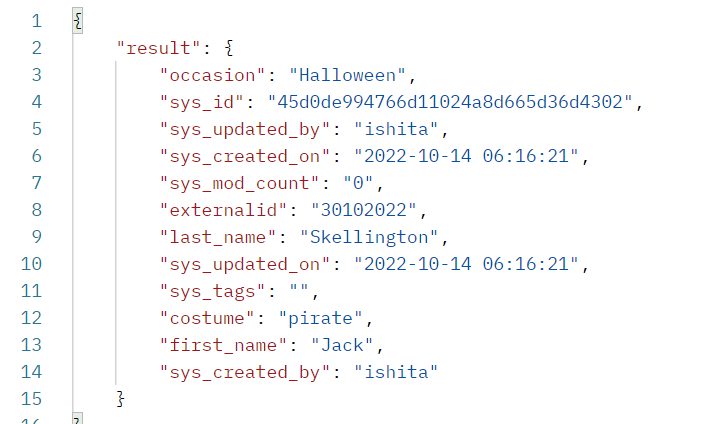
With this, the record should be successfully inserted in your table. You can view the record using the Preview button on the table.

That’s all folks
.. for now. We will be concluding the blog for the day. As seen in today’s blog, the System applications offered by ServiceNow are vast. Each application has multiple options, be it in terms of creating new incidents or trying out any inbound or outbound APIs.
Up next, we have more blogs coming in this series! In the upcoming blogs we will be delving deeper into the IntegrationHub on ServiceNow and explore how we can perform our ETL scenarios there when dealing with more voluminous data. Till then, wishing you a Happy Halloween!
Stay tuned for more! Follow us on LinkedIn: https://www.linkedin.com/company/integrtr/