


Hello Integration Enthusiasts!
Welcome to the fifth and final part of Enterprise Integration with Dell Boomi. In the fourth part (read here if you haven’t), we had converted Product and Supplier details into CSV format and combined all documents. In this part, we are going to discuss the last 2 steps. We’ll also discuss a quick and easy way of managing our deployments.
- Obtain the list of products
- For each product in the list, identify if reordering is required
- If product must be reordered, obtain supplier info
- Create a list of the products to be reordered along with supplier info
- Convert List into csv format
- Send List to Manager via Email
- Configure the Process to run every day
Step 6: Send List to Manager via Email
Before we set up a mail connector, we need to insert header for the data that we currently have. In the previous blog post, when we had used Data process shape to combine documents, we had chosen the header option – “No Column Headers”. Now it’s time to add a Header to our CSV data. It can be very easily achieved by using a Message shape. We are already familiar with this shape as we had used it to perform a similar operation.

Now, we are going to add a Mail Connector to complete our process. Search for ‘Mail’ in the shape search bar and place the connector on the canvas, connecting it to the previous shape.
As it is with every connector, we need to create one Connection component and one Operation component for this connector.
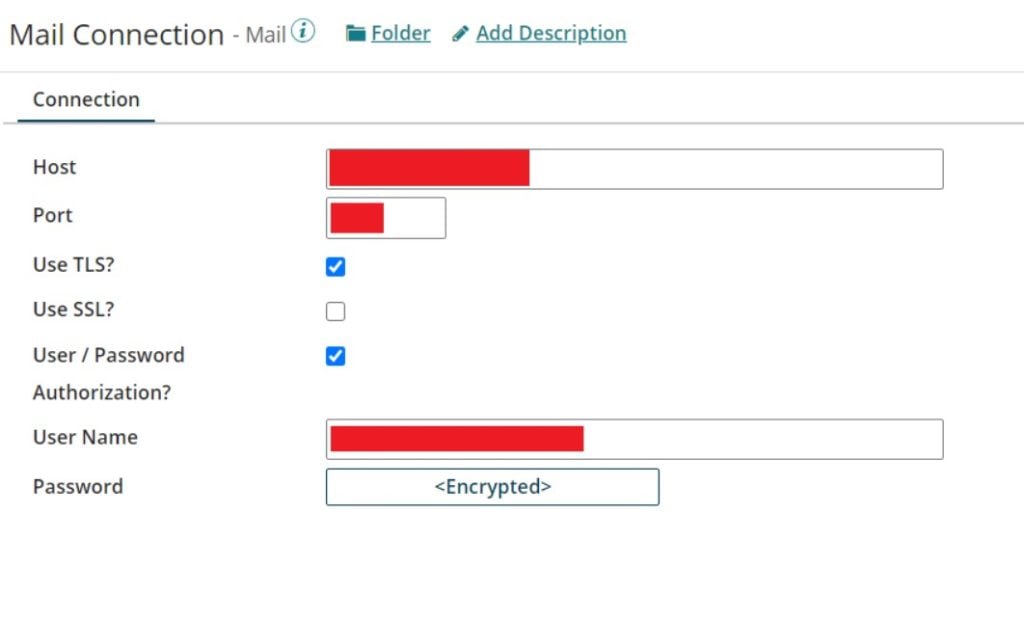
Click on the green + button in the connection field to create a new Mail Connection. In the Host field, provide the SMTP server address and in the Port field, the port number to be used. For example, if you’re using a gmail Id, you can input smtp.gmail.com as smtp address and 587 as the port number. Similarly, if you’re using a Microsoft outlook Id, you can input smtp.office365.com and 587 for these fields.
Select the checkbox for User / Password Authorization and provide the username and password for your email Id using which this notification is to be sent.
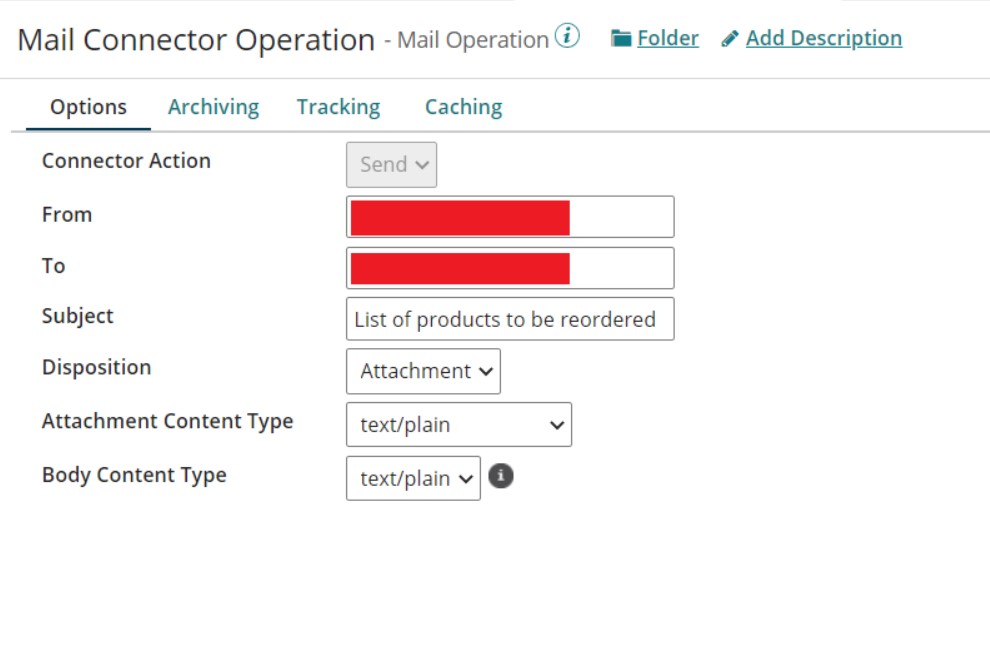
Click on Save and Close. Similarly, we also need to create a Mail Operation component. This step is quite simple. Provide details like From, To and Subject for the mail that will be sent. In the dropdown box for Disposition, select how you wish to send the content in the mail, Attachment or Inline. You can also specify the Content and Attachment Type in this component.
Some of you may have this question – In case message content is being sent as attachment, how do we specify what goes as the mail body? We can do this by specifying Mail->Body Document property using a Set Properties shape. This ‘Set Properties’ shape has to come before the mail connector of course. You are already familiar with ‘Set Properties’ shape.
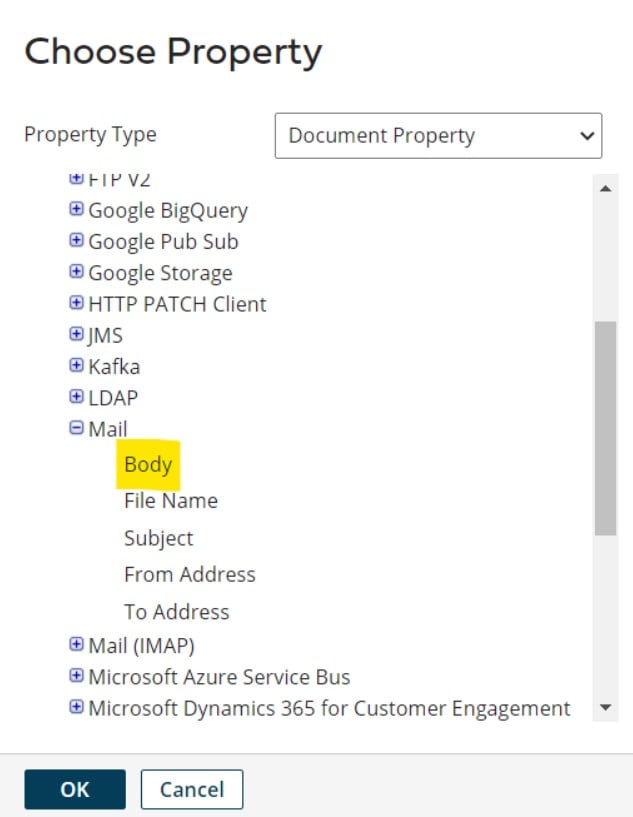
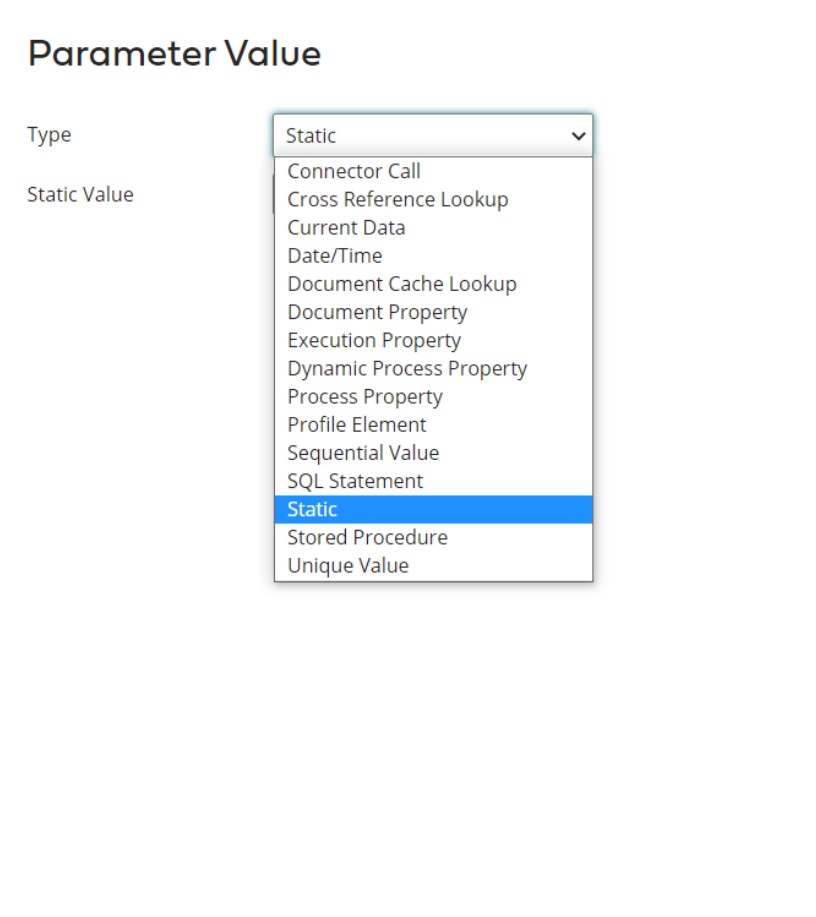
For this property, you can use any type of parameter. To keep it simple, you can just use static value here. But even if you wish to get vale from some Document property, Profile element, you already know how to do it.
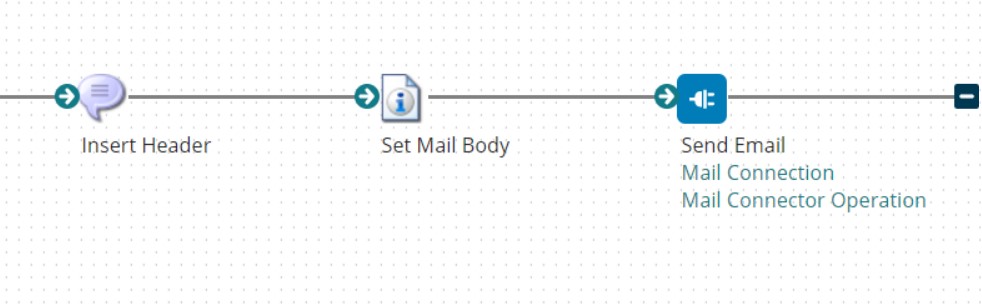
Make sure this shape is placed between Insert Header and Send Mail steps:
Our process is now complete and ready for deployment. Deployment requires creation of Packaged components and it is explained in detail by Dell Boomi in this video. Follow the instructions in this video and deploy the process.
Step 7: Configure the Process to run every day
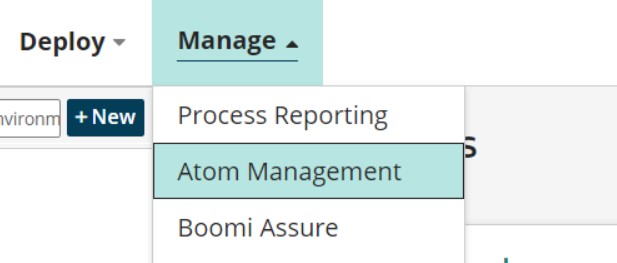
Now that we have built and deployed our process, we can schedule it to run everyday automatically. Process execution schedules control when a process will run. Go to Manage->Atom Management and then click on the Atom on which the process was deployed.
Go to Runtime->Deployed Processes.
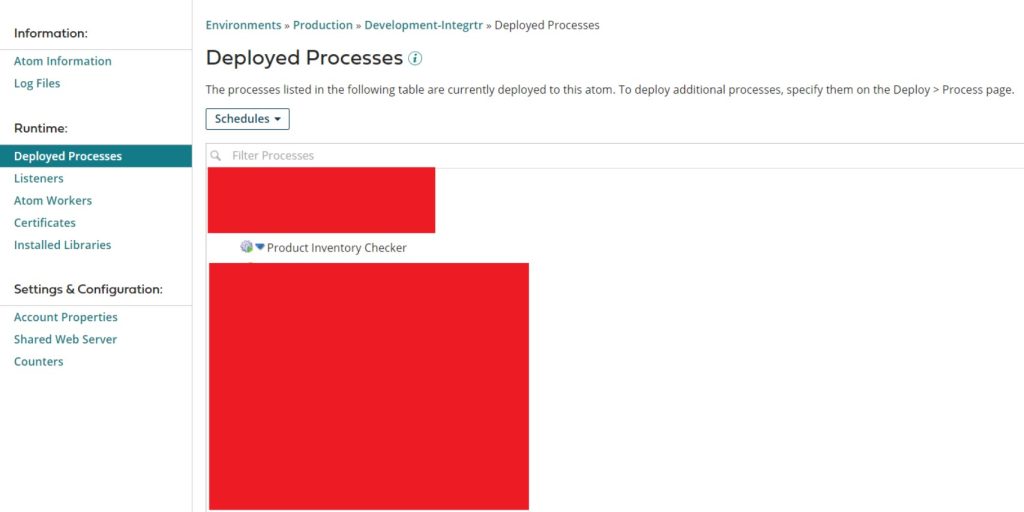
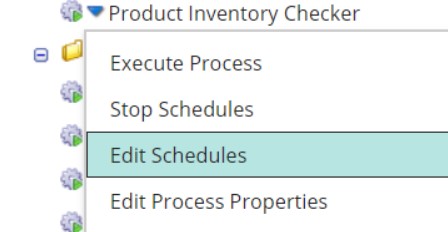
Find the process that you wish to add a schedule to and click on the blue arrow next to it and then on Edit Schedules.
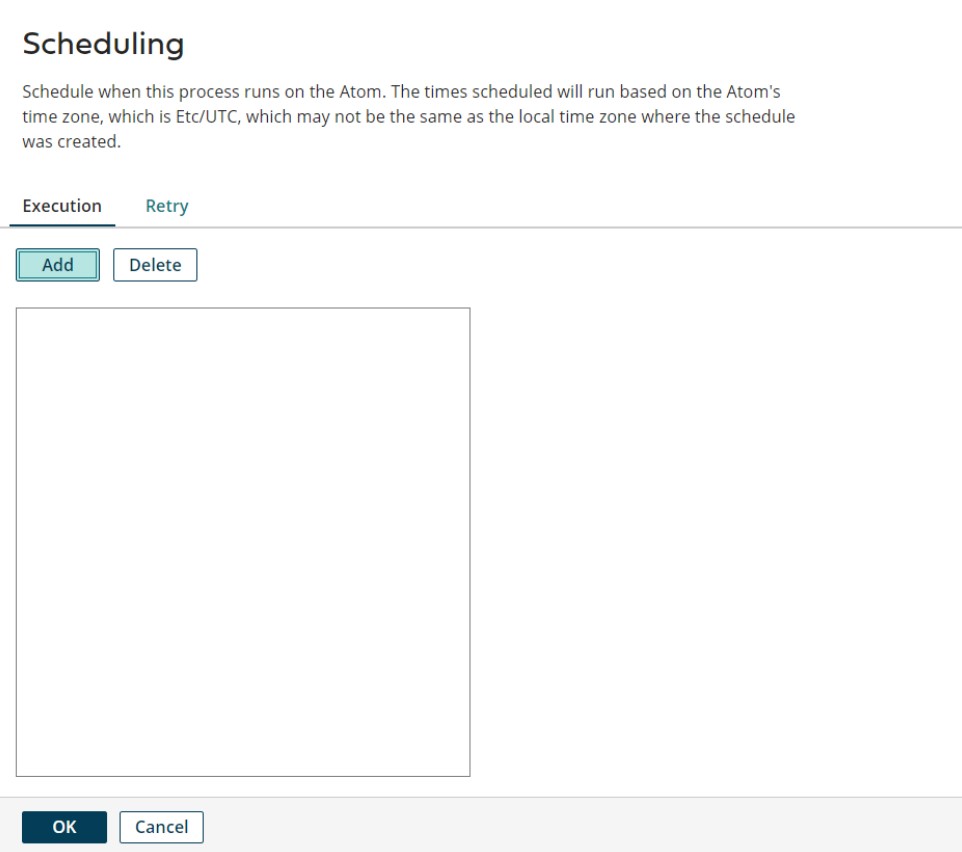
Click on Add and specify a schedule as shown in the following screen:
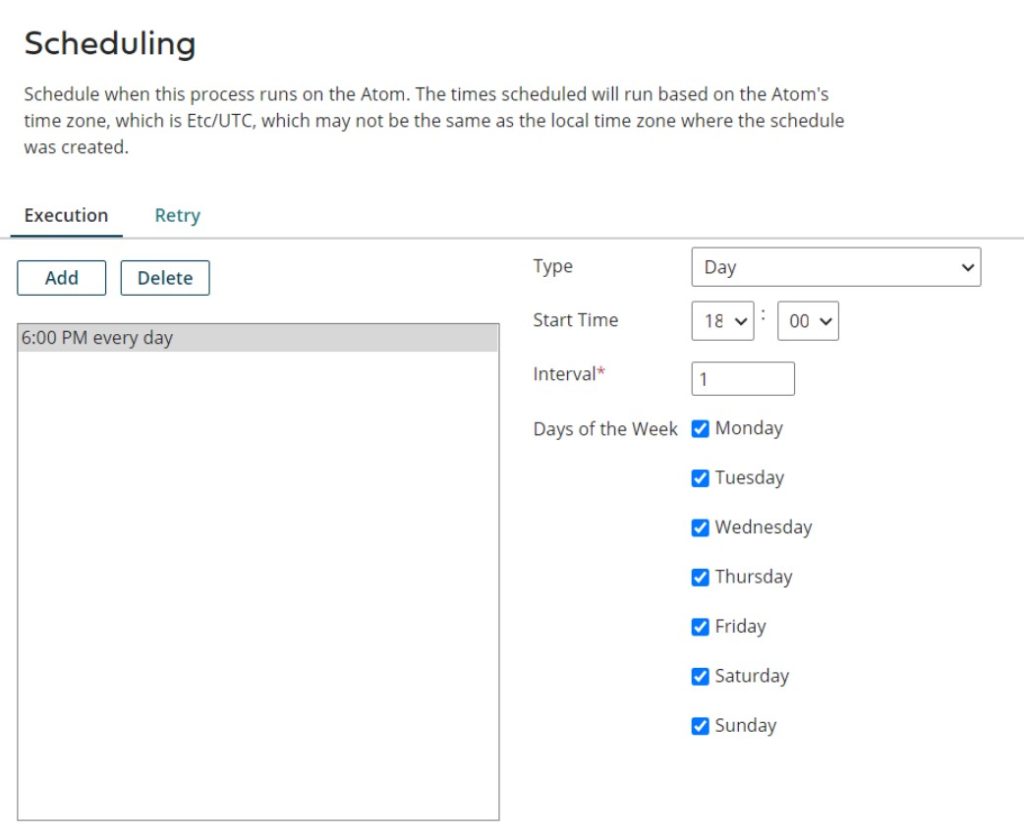
Once this schedule is saved, it will be applied to the deployed process and redeployment is not required.
In SAP CPI, we had to set this schedule using the start timer shape itself. But in Boomi, schedule is decoupled from all shapes and has to be set for the process only once it has been deployed. We can also have multiple schedules for one process. Moreover, we can also set a retry schedule, which automatically reruns any documents that failed during the scheduled process execution. Thus scheduling is quite a powerful functionality in Dell Boomi and even if the method to set this is more complicated than other middlewares, it is still justified.
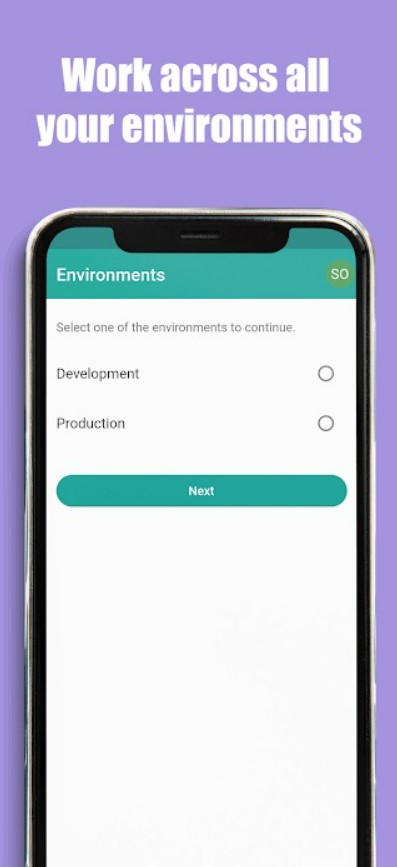
However, not all deployments can be scheduled. There will be instances when you want to run processes only on Ad-hoc basis. In that case, you will have to log into your system and then trigger the process that is needed. At times, you might not have access to your PC/Laptop and this can lead to delays/ issues. Thankfully, there exists a smart solution for managing these processes from your mobile device. Download TriggerIT for Boomi, it’s available on both Apple and Google Play Store for free usage.

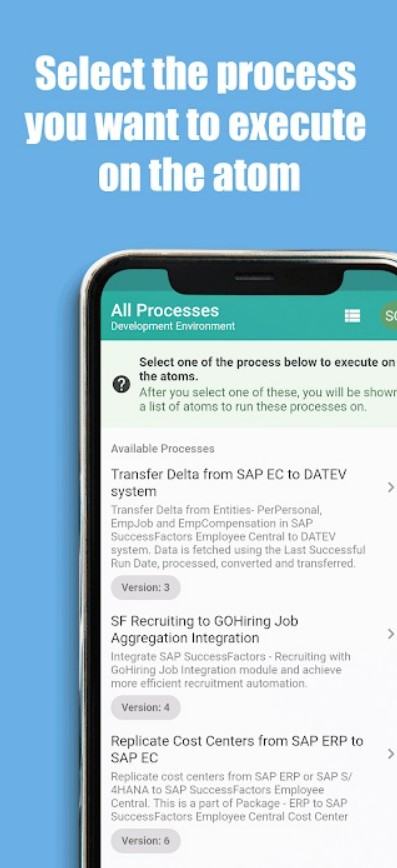
You can manage all processes across the various Boomi Atoms that you have.
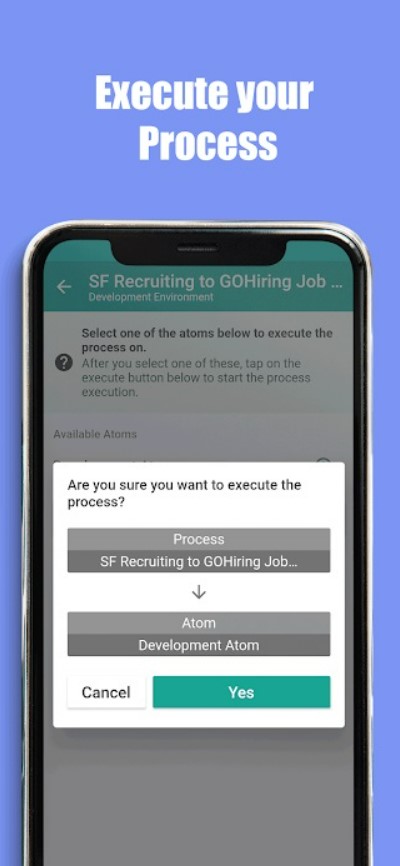
Without any fuss, you can also select which Atom you want to deploy your process on.
After execution, you can even see the logs generated on your phone itself.
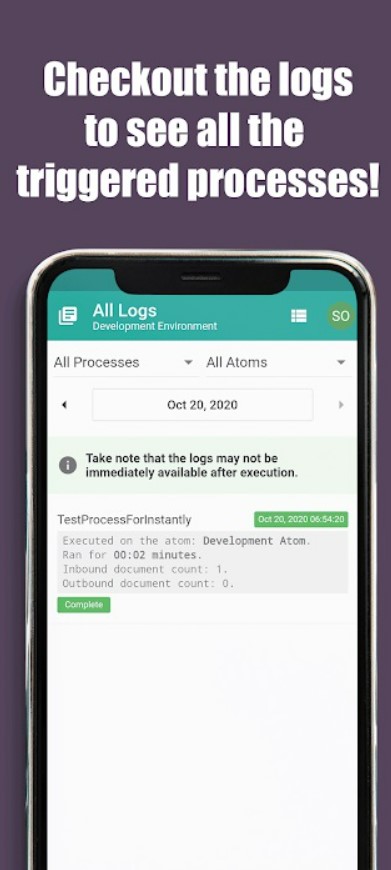
By making Boomi easily accessible even on your phone, this application greatly increases the efficiency of Boomi developers and administrators.
Now it’s time for us to bid adieu. It’s been an interesting journey and I’m sure that you’ll find yourself much more comfortable at integration using Dell Boomi than before. We’ll be back with more posts on enterprise integration soon. Till then, goodbye and happy learning!